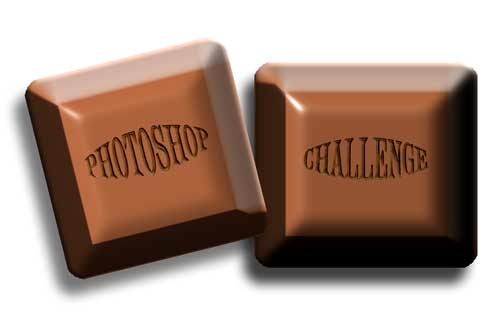
Welcome to the Photoshop High Calorie Chocolate Challenge!
Photoshopochocoholics, this is for you...
|
The challenge is to create a chocolate in Photoshop, plus any other programs and filters. This activity is completely calorie-free. |
|
Square chocolates should end up 250 pixels wide at a resolution of 72ppi. Other shapes can be a little larger, say 300 pixels wide. I find it easiest to begin with a square 500 pixels wide at a resolution of 144 ppi whilst working, then when completed, reduce the resolution to 72 ppi which automatically halves the size. |
|
I've been playing with this, making simple use of Layer Styles, and I put together a little tutorial to start you off. You can see some calorific examples further down the page. |
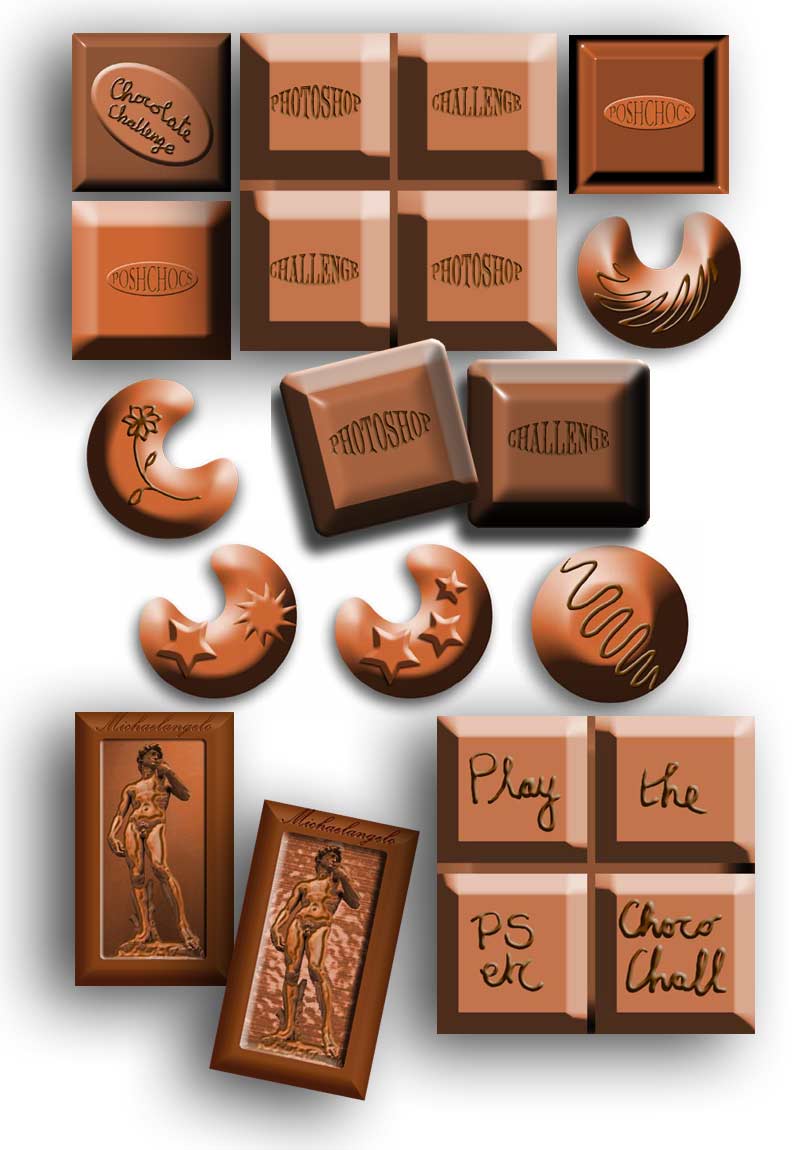
Chocolate Tutorial
| 1 | Open a new canvas (File>New)
500 pixels square with Resolution 144 ppi, Mode: RGB Color, Contents:
Transparent, OK.
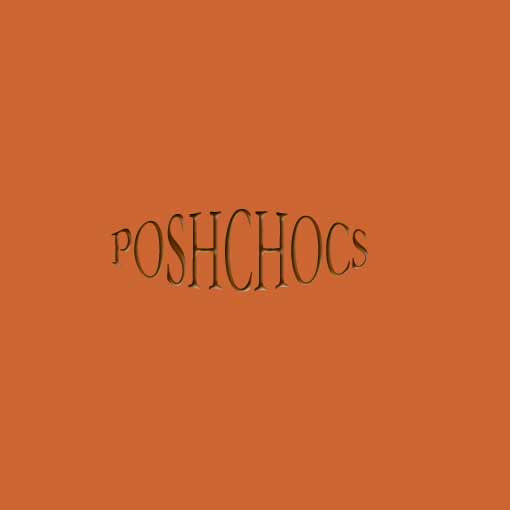
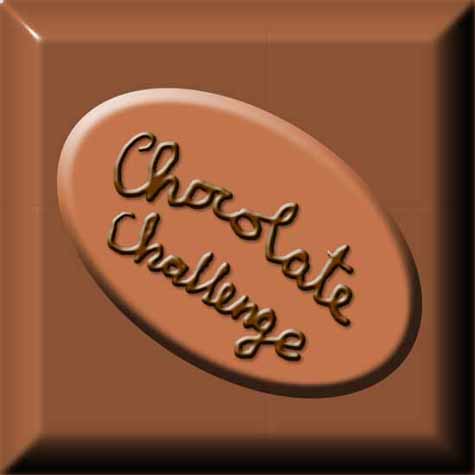
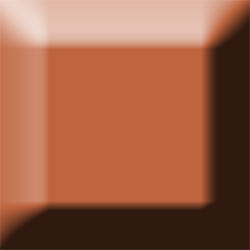
Set foreground colour to 663300 and background colour to CC6633, the colour you see below. Fill the square with the background colour (Edit>Fill>Background Color). Select the Type tool and set the font to Garamond, 26 point, and type POSHCHOCS. Bring up the Character options (Window>Show Character) and check by clicking the small black arrow on the right that Faux bold and Faux italic are unchecked. With the word selected, click the Warp Text icon on the Options bar (next to the font colour), and choose Bulge at its default settings. Click the move tool to confirm the type and move it to roughly centre. Click Layer>Layer Style>Bevel & Emboss, keep everything as it is, but put a dot next to Down, OK. You should have this: |
| eg |
|
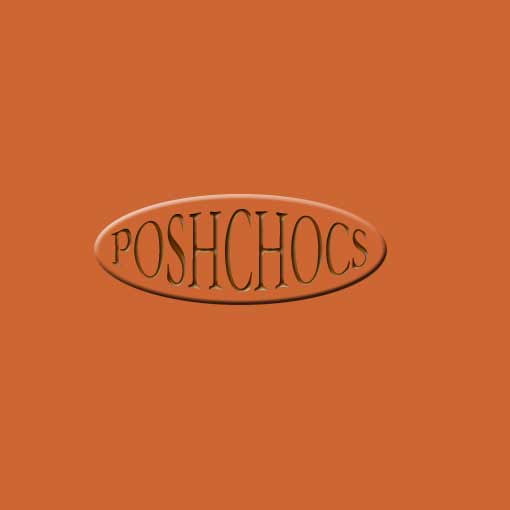
| 2 | In the Layers palette click the brown square layer to select it. Select the Elliptical marquee tool and draw an oval to fit quite tightly around the word. Copy this selection to a new layer (Edit>Copy, Edit>Paste). (You can't see it yet, but there it is in the Layers palette!) Go to Layer Style>Bevel & Emboss again, keep the default settings (with the dot in Up). Now you have this: |
| eg |
|
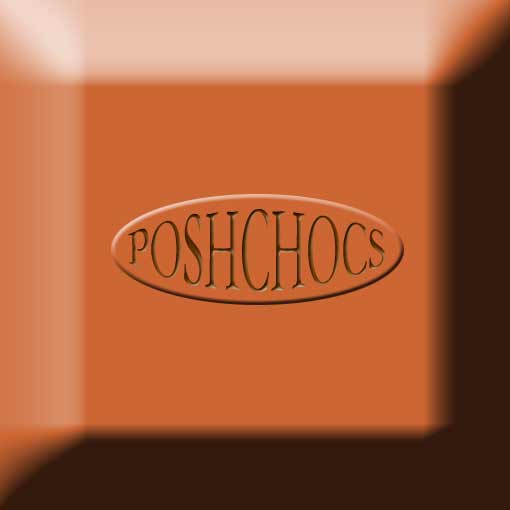
| 3 | To fix the oval and type
together, select the oval in the Layers palette and click in the empty
box by the eye in the type layer to link them. Click Layer>Merge
linked.
Make the brown square layer active, and go back into Layer Style>Bevel & Emboss, and play with the Depth and Size sliders until you have something like this. Now you will notice that your oval isn't centred! Select the oval from the Layers palette, click on the Move tool, and now you can use the keyboard's Up, Down, left and right keys to position it. |
| eg |
|
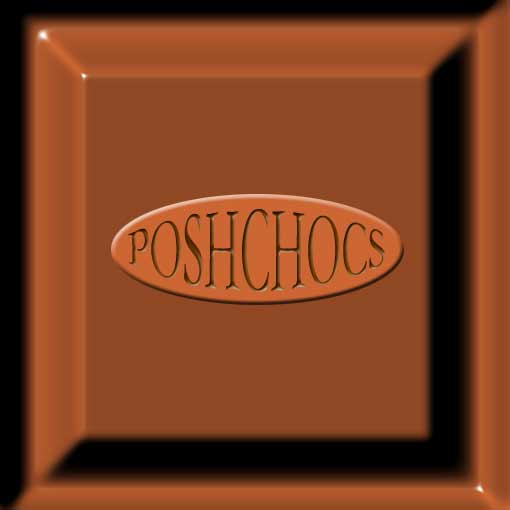
| 4 | You can achieve variations on the bevel using plugins like Eye Candy Bevel Boss and NVR Bordermania: |
| eg |
|
| 5 | Before flattening the layers, you might want to save the layered piece to go back to later. Then flatten all the layers to one (Layer>Flatten image). Click Image>Image Size and change the resolution to 72 ppi (you'll see that this changes the width to 250 pixels), OK. Now save it (File>Save for Web, 2-Up, JPEG) and go for the biggest file for this one, 25K. |
|
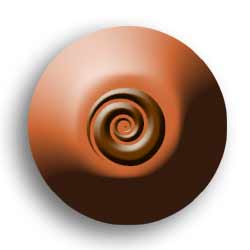
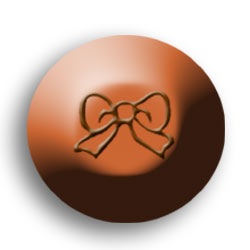
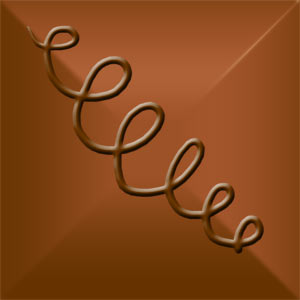
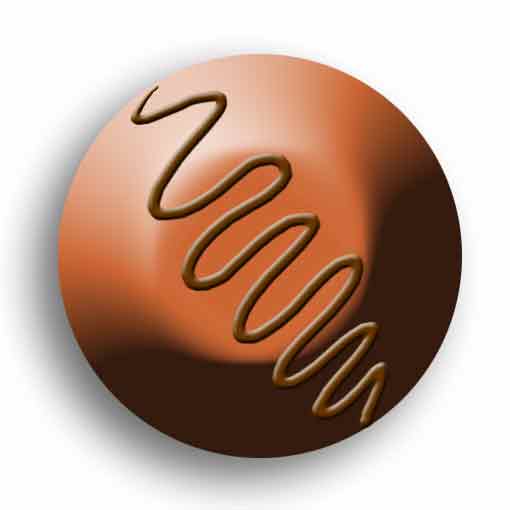
Tubelining |
With the colours set as before, make a plain square chocolate and apply Layer Style>Bevel & Emboss. Make a new layer and set bevel and emboss again. Choose a size 9 or 13 round brush, and draw! |
  |
 |
|
You can use brushes (preset or your own created ones) to stamp the pattern on a new layer, then apply Bevel & Emboss in Layer Style as before, here are two done that way: |
|
|
|
You can also make chocolates of a different shape, in which case make the final image dimensions 300pixels wide. |
|||
|
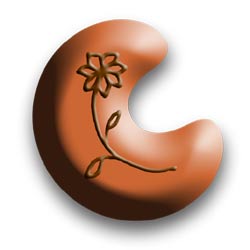
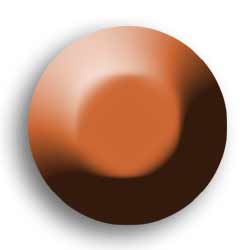
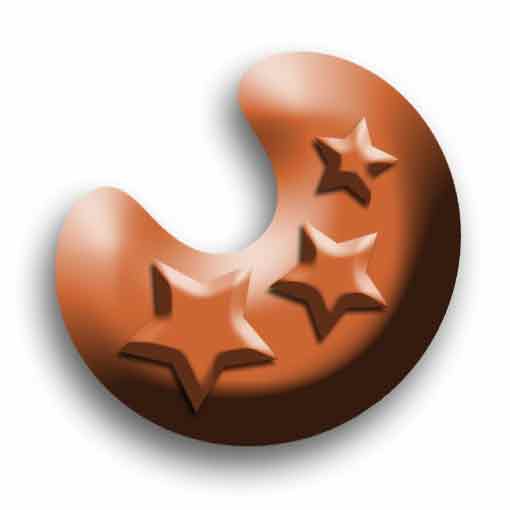
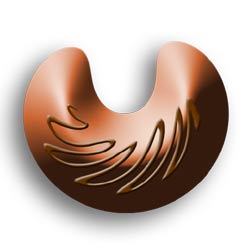
Here I began with a plain square chocolate on a layer which had a deep bevel applied. I selected the biggest possible circle from it (elliptical marquee, hold shift and drag), inverted the selection and cleared (Select>Inverse, Edit>Clear). The layer style adapts to the new shape. For the crescent I used Filter>Distort>Polar Co-ordinates. I used the shape tool for the stars, and the above tubelining technique for the swirls. |
|||
 |
 |
 |
|
 |
|
 |
|
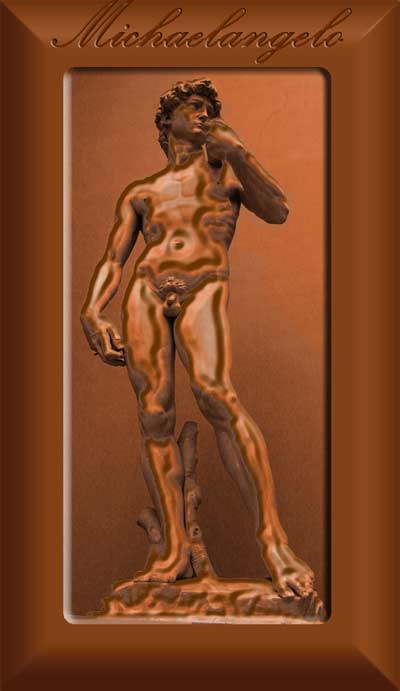
So how did I make the chocolate David?
|
I used my own photo taken at the British Museum, tinted it (Image>Adjust>Hue & Saturation>Colorize), used the magic wand to select the background, inverted the selection and copied him to a new layer. Then applied Layer Style>Bevel & Emboss as before.
Using the same method you could make chocolate frogs, rabbits, flowers, almost anything (within reason please!)
|
||
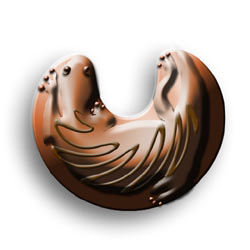
Here are a few example calories for you:
View designer chocolate slideshow
Have fun, and don't eat too many!